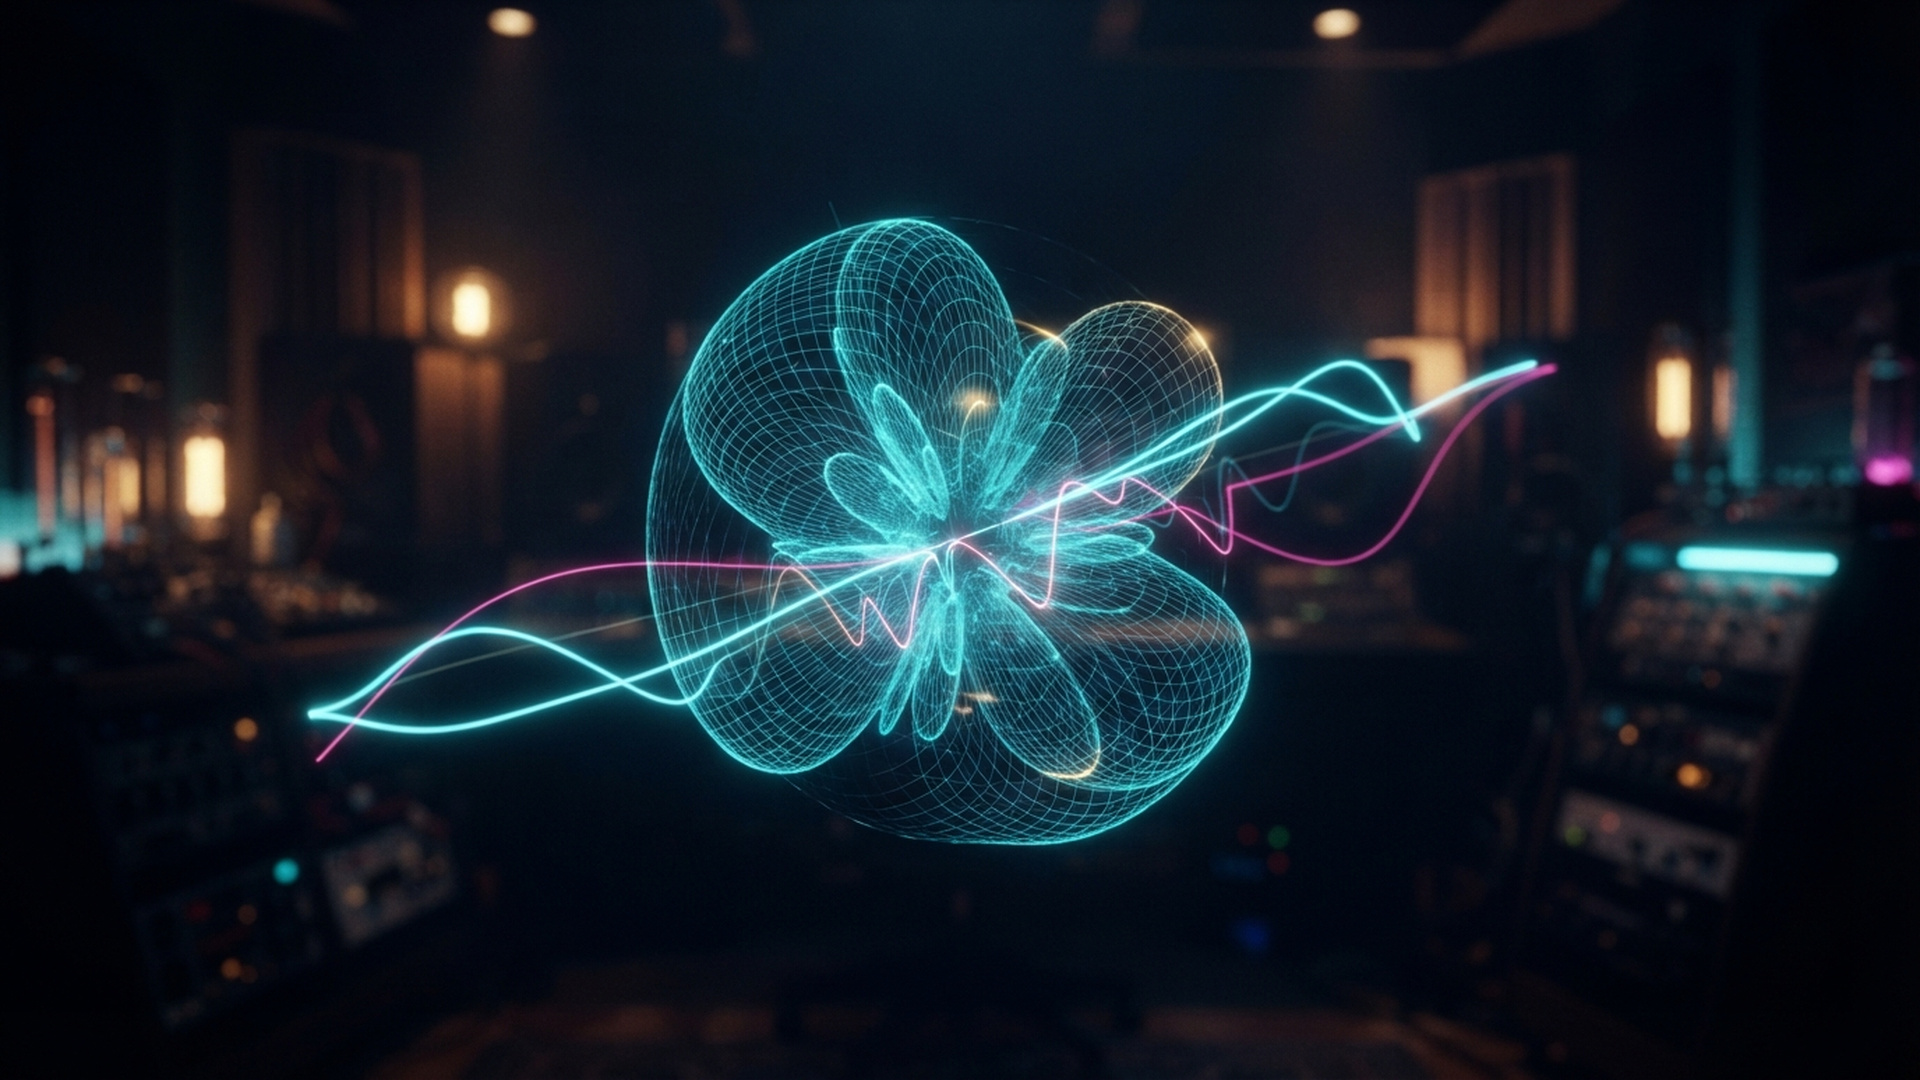
The Physics of Off-Axis Response and Polar Patterns
Microphones exhibit varying frequency responses depending on the angle of sound incidence, a characteristic known as off-axis response. This response often deviates significantly from the on-axis (direct) response, leading to coloration or frequency response shifts for sounds arriving from the sides or rear. Different polar patterns, such as cardioid, omnidirectional, or figure-8, possess distinct off-axis rejection or acceptance characteristics that profoundly influence how reflections are captured.
It is crucial to recognize that no microphone possesses a perfectly uniform off-axis response across all frequencies. This inherent characteristic means that any sound picked up off-axis, including room reflections, will inevitably be colored to some degree, regardless of the chosen polar pattern. Understanding these inherent colorations is the first step in managing their impact on your recordings.
The Detrimental Dance: Reflections and Off-Axis Interaction
Room reflections are sound waves that bounce off surfaces within a recording space before reaching the microphone. These reflections arrive at the microphone from various angles and at different times relative to the direct sound. Their interaction with the microphone's frequency-dependent off-axis response is a critical factor in the overall sound quality of a recording.
This interaction can lead to severe sonic degradation, including comb filtering, phase distortion, and undesirable timbral shifts. Comb filtering occurs due to constructive and destructive interference between the direct sound and reflections at different frequencies, resulting in a 'hollow' or 'phasiness' quality. Phase distortion further compromises the integrity of the waveform, while timbral shifts can make instruments sound unnatural, 'boxy,' 'thin,' or 'harsh.'
When monitoring through studio headphones or calibrated nearfield monitors, critical listening cues for these issues include: a 'hollow,' 'phasiness,' or 'flangy' quality (comb filtering); an unnatural timbre where instruments sound 'boxy,' 'muddy,' 'thin,' 'harsh,' or 'nasal' in a way that doesn't match the direct sound; a general lack of clarity or definition, making individual notes or transients difficult to discern; excessive room sound that sounds distinct or unpleasant; and phase issues, particularly when combining multiple microphones or tracks, manifesting as cancellations or boosts in specific frequency ranges.
Systematic Diagnosis: Tools and Techniques
Diagnosing the interaction between microphone off-axis response and room reflections requires a multi-pronged, systematic approach that combines critical listening with objective acoustic measurements.
Begin with **Critical A/B Listening**: Compare the problematic recording with a very close-miked version of the same source (to minimize reflections) or a clean reference recording. Focus on specific timbral and phase differences through your studio monitoring system. Follow this with a **Microphone Sweep Test**: While monitoring through your DAW, slowly rotate the microphone 360 degrees around its axis (if feasible) or move it slightly within the recording space. Listen for drastic changes in timbre, frequency response, or phase, which indicate strong off-axis coloration or significant reflection pickup.
Utilize **Acoustic Measurement Software** like Room EQ Wizard (REW) or Smaart with a measurement microphone to capture the room's impulse response at the intended recording position. Analyze waterfall plots, spectrograms, and RT60 measurements to identify problematic reflection arrival times, frequencies, and decay characteristics, pinpointing specific reflective surfaces. Supplement this with **DAW Analysis**: Use a spectrum analyzer plugin to observe frequency peaks and dips indicative of comb filtering. Experiment with phase inversion on duplicate tracks to determine if issues are mitigated or worsened, thereby diagnosing phase problems originating from reflections.
Strategic Mitigation and Control
This advanced understanding is invaluable when recording acoustic instruments or vocals, allowing for the capture of the purest direct sound with controlled or desirable room ambience, minimizing detrimental reflections. It informs microphone selection, guiding the choice of polar pattern based on the acoustic environment and desired outcome. Furthermore, it dictates strategic microphone placement, positioning microphones to minimize off-axis pickup of problematic reflections or to intentionally capture specific, flattering room characteristics for the mix.
The practical procedure involves isolating direct vs. reflected sound, performing acoustic measurements, testing various polar patterns and placement options, and finally implementing targeted acoustic treatment or refined microphone positioning. This iterative process ensures that solutions are tailored to the specific acoustic challenges of your recording environment.
However, implementing these strategies involves inherent tradeoffs. For instance, choosing a tighter polar pattern can reduce reflection pickup but may sacrifice naturalness or cause issues if the source moves. Conversely, an omnidirectional mic captures more room sound, which can be desirable but detrimental in highly reflective spaces. Closer microphone placement reduces reflections but can introduce proximity effect. Extensive acoustic treatment, while effective, can be costly, aesthetically intrusive, and risks over-damping the room, leading to a lifeless sound.
Step-by-Step Practical Method
- Isolate Direct vs. Reflected Sound: Record a short, percussive sound source (e.g., clapper, finger snap) with the microphone in the intended recording position. Then, quickly move the microphone very close to the source to capture only direct sound. Compare these two recordings in your DAW, focusing on timbral differences and decay characteristics through your studio monitors or headphones.
- Perform Acoustic Measurement: Use acoustic analysis software (e.g., REW, Smaart) with a measurement microphone to capture the room's impulse response at the intended recording position. Analyze waterfall plots and spectrograms to identify specific frequencies and decay times of significant reflections from room surfaces.
- Test Polar Patterns and Placement: Experiment with different microphone polar patterns (if available on your microphone) and subtle changes in microphone distance and angle relative to the sound source and reflective surfaces. Record short takes for each configuration, carefully labeling them in your DAW, and critically listen for improvements or degradations in clarity, phase coherence, and natural timbre through your monitoring system.
- Implement Targeted Treatment/Placement: Based on listening and measurement data, apply targeted acoustic treatment (e.g., absorption panels, diffusers) to identified reflection points, or adjust microphone placement to minimize problematic off-axis pickup. Re-evaluate with listening and measurements to confirm improvement in the recorded audio.
Practical Example
When recording an acoustic guitar with a cardioid condenser microphone in a moderately reflective studio control room, you notice a 'boxy' resonance around 400-600 Hz and a slight phasey quality in the upper mids when monitoring through your studio monitors. You suspect early reflections from the desk surface or nearby wall interacting with the microphone's off-axis response. To diagnose, you first record the guitar, then move the mic within inches of the soundhole to hear the direct sound. Next, you use REW with a measurement mic at the recording position, revealing a strong reflection arriving ~5ms after the direct sound, peaking around 500 Hz. You then try angling the cardioid mic slightly away from the desk, or switching to a hypercardioid pattern, and finally place a small absorption panel on the desk surface between the guitar and the mic. Critical listening through studio monitors and headphones confirms a reduction in the boxiness and improved clarity, indicating successful mitigation of the off-axis reflection issue in the DAW recording.
Mistakes to Avoid
- Ignoring the Room: Assuming a 'good' microphone will sound good anywhere, neglecting the profound impact of room reflections on its off-axis pickup.
- Incorrect Polar Pattern Choice: Using an omnidirectional microphone in a highly reflective space when a cardioid would offer better rejection of unwanted reflections, or vice-versa, without considering the acoustic environment.
- Arbitrary Microphone Placement: Placing microphones without considering the angles of incidence for both direct sound and reflections from room surfaces, leading to uncontrolled off-axis pickup.
- Over-Reliance on Post-Processing: Attempting to 'EQ out' comb filtering or phase issues in the DAW instead of addressing them at the source during recording, often leading to artifacts or a less natural sound.
- Misinterpreting Listening Cues: Confusing a poor performance or instrument issue with a microphone/room interaction problem, leading to incorrect diagnostic steps.
- Inadequate Monitoring: Making critical decisions about reflections on uncalibrated or low-quality monitoring systems (headphones or speakers), leading to inaccurate judgments about the recorded audio.
When Not to Use This Technique
- Generic Room EQ for Monitoring: While related, this lesson focuses on source-level capture issues with microphones, not broad-band room correction for your monitoring environment itself.
- Industrial Noise Control: The principles apply to sound, but the context here is specifically music production, not general environmental noise reduction or safety in non-music settings.
- Fixing Poor Performances: No amount of acoustic or microphone expertise can compensate for a poorly played instrument or sung vocal; this knowledge enhances good performances.
- Replacing Creative Decisions: While technical mastery is key, it serves creative intent; it doesn't dictate artistic choices about sound aesthetic or how a mix should ultimately sound.
- Blindly Applying Presets: Each recording scenario is unique; generic solutions or DAW presets without diagnosis of microphone-reflection interaction are unlikely to yield optimal results.
Tradeoffs
- Choosing a microphone with a tighter polar pattern (e.g., supercardioid, shotgun) can reduce the pickup of off-axis reflections, improving clarity but potentially making the sound less natural or causing issues if the sound source moves. Conversely, an omnidirectional microphone captures more room sound, which can be desirable for ambience but detrimental in highly reflective spaces, leading to muddy recordings. Closer microphone placement reduces the ratio of reflected to direct sound but can introduce proximity effect and a less natural perspective. Extensive acoustic treatment can mitigate reflections but is often costly, aesthetically intrusive, and may over-dampen a room if not carefully balanced, potentially leading to a lifeless sound. Post-processing like EQ, gates, or de-reverb in a DAW can address issues but may introduce artifacts or reduce the naturalness of the recording, making the mix sound artificial.
Conclusion
Mastering the diagnosis and management of microphone off-axis coloration interacting with room reflections is paramount for achieving professional-grade recordings. It requires a blend of critical listening through quality monitoring, informed microphone choice and placement, and strategic acoustic treatment, moving beyond generic 'good room' assumptions to precise problem-solving within your audio production workflow.
Related Reading
- Understanding Microphone Polar Patterns — Verified source. Provides a comprehensive overview of different microphone polar patterns and how their off-axis rejection or acceptance characteristics interact with room acoustics and unwanted sounds.