Start With the Arrangement, Not the Button
High-pass filtering works best when it answers a specific question: what is this track contributing below the range where it needs to be heard? A shaker may carry rumble from the room. An electric guitar may carry low-frequency handling noise. A vocal may carry plosives and stand noise. Those are good candidates for cleanup because they do not define the musical role of the part.
Sweep, Then Back Up
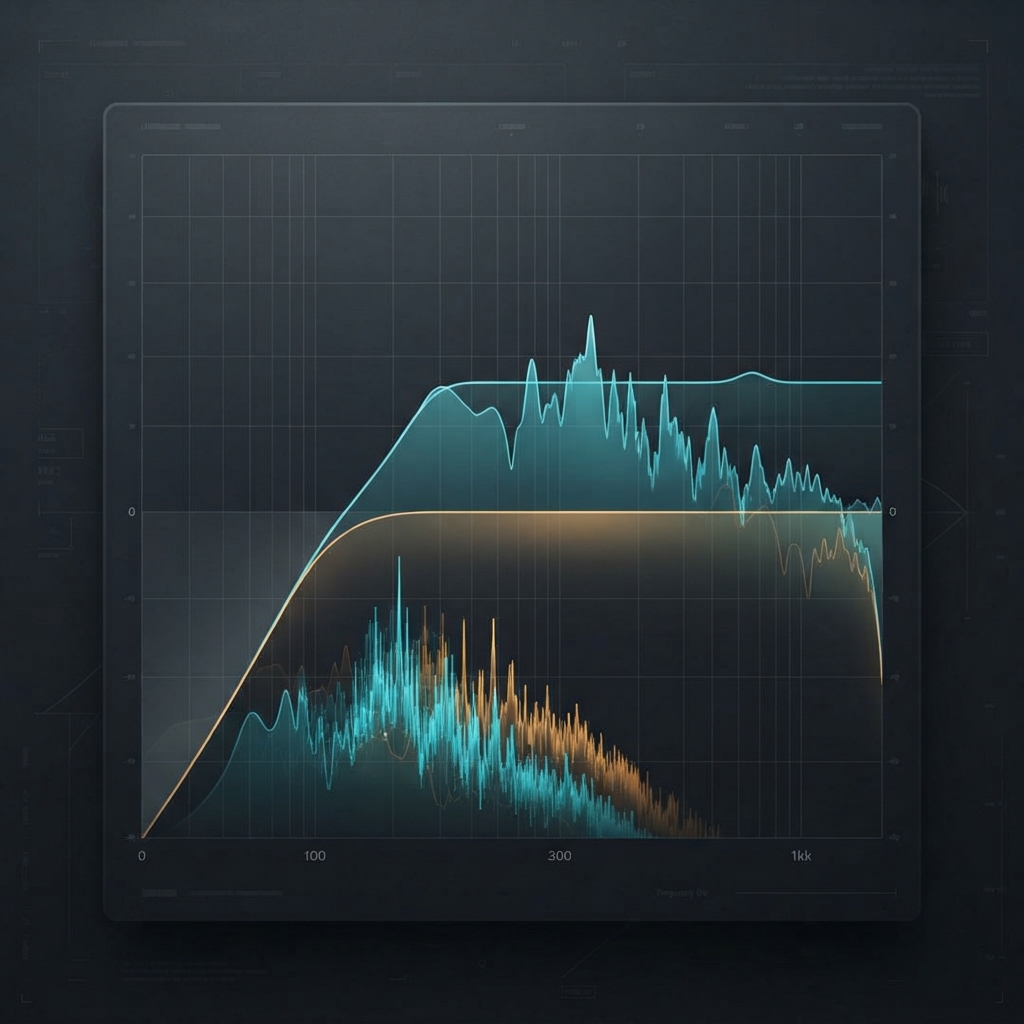
A reliable method is to raise the cutoff until the part noticeably loses authority in the full mix, then lower it until the useful body returns. The point is not to find the highest possible cutoff. It is to find the lowest cutoff that removes the distraction. Use a gentler slope when the part needs natural warmth; use a steeper slope when a problem is clearly isolated.
Check the Whole System
Do not high-pass every channel just because a checklist says so. Several small cuts can add up to a mix that feels thin, especially when the arrangement depends on guitars, keys, room mics, or layered vocals for scale. Compare bypassed and engaged at matched loudness, then check the chorus. If the chorus shrinks, you probably removed support rather than clutter.
Practical Check
- Identify the unwanted source first: rumble, plosives, handling noise, or masking.
- Set the cutoff while the whole mix plays; solo can make useful low-mid body sound disposable.
- Use the shallowest slope that solves the issue, then revisit after balance changes.
This article is AI curated and created.